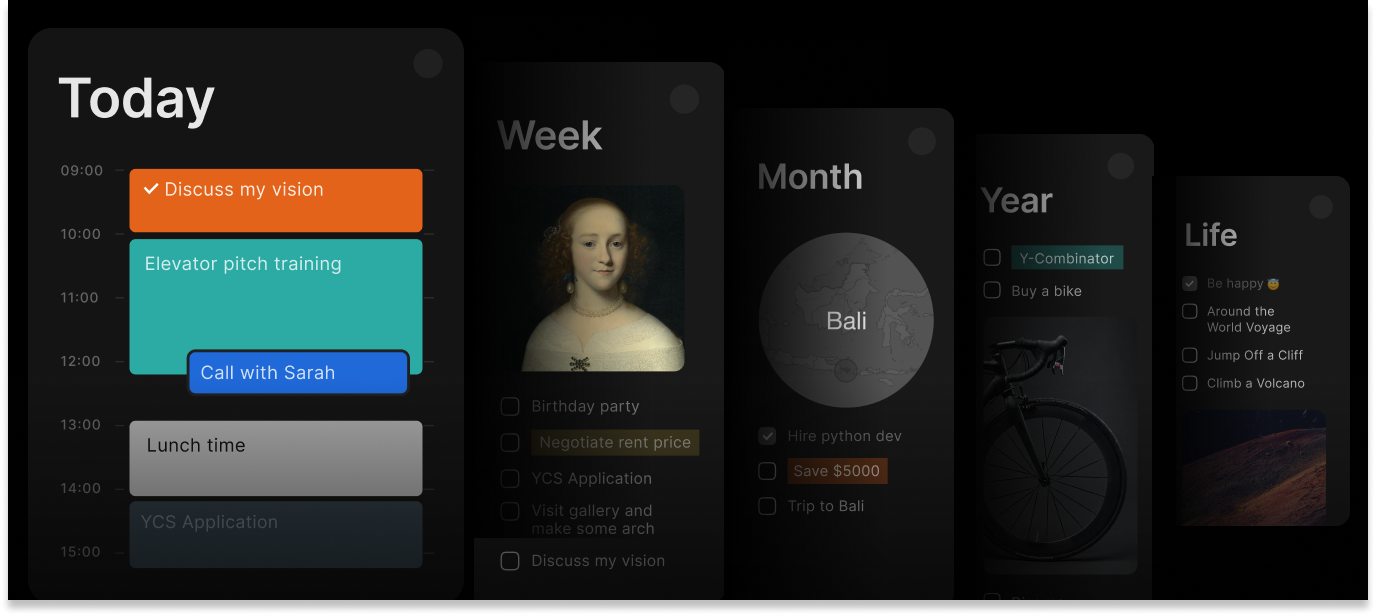
Connecting an AI agent to Timestripe lets you manage your workflow using plain language. Ask it to reschedule unfinished goals, organize your inbox notes, plan your week, or summarize team activity.
Timestripe has an MCP server for AI assistants, a CLI for terminal commands, and an API for other tools. This article will help you choose the connection that fits your tasks best, and set it up. For most tasks, connecting through MCP is the one to use. It takes about a minute, and then you can ask your AI agent to help with your plans.
Which connection to use
Each one is for a different job. Use the description below to see what each connection is for.
MCP — for working with your AI assistant ↓
Start here if you want to ask your assistant to review your goals, plan your week, or make changes in Timestripe. You connect your account once, then talk to your assistant as usual. Your AI app needs to support MCP. It works with Claude Code, Cursor, VS Code with GitHub Copilot, ChatGPT, and other apps that support MCP.
CLI — for terminal commands and scripts ↓
Choose this if you or your agent work in a terminal, or you want to put Timestripe commands in a script — for example, one that adds your weekly tasks on a schedule. You install the Timestripe CLI on the computer that will run those commands. Your AI app needs terminal access to use the CLI.
API — for connecting other tools and building automations ↓
Choose this if you want another app or service to work with Timestripe — for example, a workflow in n8n or Zapier that creates a goal when someone submits a form. You use an API key and set up requests to Timestripe. This is also the option for building your own integration.
Connect through MCP
MCP gives your assistant tools to read and work with Timestripe. Set up the connection once, then ask for what you need in your usual chat.
Step 1: Add the connection
Send this prompt to your AI agent:
Your agent will guide you through the setup and ask which access level you want.
Prefer to set it up yourself? Open Settings → MCP, choose your AI app, and follow the setup instructions.
Step 2: Sign in to Timestripe
Follow the browser sign-in opened by your agent or AI app. Log in to your Timestripe account and review the requested access before approving it. You need to complete this part yourself.
If the connection doesn’t appear, reload your AI app and look for Timestripe in its MCP settings. If sign-in reports an invalid access scope, ask your agent to check the scope using the setup instructions and try again.
Step 3: Check the connection
Ask your assistant:
If it fails, check that you’ve completed the browser sign-in and restart your AI app.
If it returns your account and Spaces, you’re all set! Try your first prompts ↓
Connect through the CLI
The Timestripe CLI lets you work with your goals, boards, and Spaces using terminal commands. You can run them yourself or let an AI agent with terminal access run them for you. Choose your operating system below to open a step-by-step guide with video walkthroughs.
Set up on macOS
Step 1: Install the Timestripe CLI
On macOS, the Timestripe CLI is installed through Homebrew, a popular package manager.
- Check whether you already have Homebrew. Open Terminal (press
Cmd + Space, type “Terminal,” and pressEnter) and run:CopiedIf you see a version number, continue with installing the Timestripe CLI. If the command is not found, install Homebrew by running:
CopiedThe installer asks for your Mac password. The terminal will not display the password as you type — not even dots or asterisks. This is normal: type it carefully and press
Enter.Then it shows a list of the files and folders it is about to create and waits for your confirmation. Read it if you like, then press
Enterto continue.When the installation finishes, it prints a “Next steps” section. Homebrew is installed at this point, but your terminal doesn’t know about it yet, so you have to run the three commands listed there: two
echocommands and oneevalcommand. Copy the lines printed on your screen and run them one at a time. - Install the Timestripe CLI:Copied
- Connect your Timestripe account. Run the login command:Copied
Standard access lets your agent both view and update your Timestripe data. If you prefer to start with view-only access, use
timestripe auth login --read-onlyinstead. - A browser window will open. Log in to Timestripe and approve the connection.
- Check that everything works by running:Copied
If you see your account details, the Timestripe CLI is ready to go.
Step 2: Set up your AI agent
The Timestripe CLI works with two types of AI tools:
- Terminal-based agents: Claude Code, Codex, Cursor Agent, OpenCode, and others.
- Desktop apps with terminal access: Cursor, Claude Desktop, the Codex app, and similar software.
If you already use a compatible agent, you're all set — open it and skip to the Try your first prompts ↓ section.
If you don’t have an agent yet, use the guides below to install one. Compare their features and pricing, choose the one that suits you, and follow its setup instructions. Once installed, your agent will be able to use the Timestripe CLI to view and manage your Timestripe data.
Claude Code
Sign up at claude.ai and ensure you have a Pro plan (or higher), or add API credits at platform.claude.com. The free plan does not include Claude Code.
- Open Terminal and run the installation script:Copied
- Add Claude Code to your PATH by running:Copied
- Install the Timestripe skill. The CLI ships with a skill file — a short instruction sheet that tells Claude Code which Timestripe commands exist and how to call them. Run:Copied
- Start the agent by running:Copied
On the first launch, Claude Code asks you to pick a color theme — use the arrow keys to select one and press
Enter. It then asks how you want to log in: choose Claude account with subscription if you have a Pro or Max plan, or Anthropic Console account if you're paying with API credits, and pressEnter. - A browser window will open automatically. Log in using your Claude account and approve the connection.
Both Claude Code and the Timestripe CLI are now set up and ready for your first prompts.
Codex
Sign up at chatgpt.com. You can start with a free account — the free tier has the lowest usage limits, so heavy use may eventually require a paid plan.
- Open Terminal and run the installation script:Copied
If the script asks for confirmation before it continues, type
Yand pressEnter. - Start the agent by running:Copied
When the terminal asks how to sign in, select Sign in with ChatGPT.
- A browser window will open automatically. Log in using your account and approve the connection.
Both Codex and the Timestripe CLI are now set up and ready for your first prompts.
Cursor Agent
Sign up at cursor.com. New accounts include a free trial of premium features, which then converts to a free tier with a limited number of monthly AI requests.
- Open Terminal and run the installation script:Copied
- Start the agent by running:Copied
When it asks, press any key to open the login page.
- A browser window will open. Log in with your Cursor account to authorize the CLI.
Both Cursor Agent and the Timestripe CLI are now set up and ready for your first prompts.
OpenCode
OpenCode is completely free and open-source. You can use its built-in free models, or link your own API keys from providers like OpenAI, Anthropic, or Google, paying only for the tokens you actually use.
- Open Terminal and run the installation script:Copied
The installer adds OpenCode to your PATH. Close the Terminal window and open a new one so the change takes effect.
- (Optional) Connect your own model provider:Copied
Follow the terminal prompts to select your provider and paste your API key. If you plan to use the built‑in free models, you can skip this step.
- Start the agent interface to confirm the setup:Copied
Once the interactive terminal dashboard opens, both OpenCode and the Timestripe CLI are set up and ready for your first prompts.
Set up on Windows
Step 1: Install the Timestripe CLI
On Windows, the Timestripe CLI is built from source using Go. The installation requires just a few commands.
- Install Go. Open PowerShell (Win + X and select Terminal on Windows 11 or Windows PowerShell on Windows 10) and run:Copied
If winget asks you to accept the source agreements, type
Yand pressEnter. When Windows asks whether to allow changes, click Yes. - Close your current PowerShell window and open a new one so that it picks up Go. Then build and install the Timestripe CLI:Copied
- Add Go’s binary directory to your PATH:Copied
Open a fresh PowerShell window one more time to apply the path changes.
- Connect your Timestripe account:Copied
Standard access lets your agent both view and update your Timestripe data. If you prefer to start with view-only access, use
timestripe auth login --read-onlyinstead. - A browser window will open. Log in to Timestripe and approve the connection.
- Check that everything works by running:Copied
If you see your account details, the Timestripe CLI is ready to go.
Step 2: Set up your AI agent
The Timestripe CLI works with two types of AI tools:
- Terminal-based agents: Claude Code, Codex, Cursor Agent, OpenCode, and others.
- Desktop apps with terminal access: Cursor, Claude Desktop, the Codex app, and similar software.
If you already use a compatible agent, you're all set — open it and skip to the Try your first prompts ↓ section.
If you don’t have an agent yet, use the guides below to install one. Compare their features and pricing, choose the one that suits you, and follow its setup instructions. Once installed, your agent will be able to use the Timestripe CLI to view and manage your Timestripe data.
Claude Code
Sign up at claude.ai and ensure you have a Pro plan (or higher), or add API credits at platform.claude.com. The free plan does not include Claude Code.
- Open PowerShell (Win + X and select Terminal on Windows 11 or Windows PowerShell on Windows 10) and run the installation script:Copied
Close your current PowerShell window. Open a new Windows PowerShell window to apply the changes.
- Add Claude’s folder to your PATH by running:Copied
Close your current PowerShell window. Open a new Windows PowerShell window to apply the changes.
- Install the Timestripe skill — a short instruction sheet that tells Claude Code which Timestripe commands exist and how to call them. Create the folder for it:Copied
Then download the file:
Copied - Start the agent by running:Copied
On the first launch, Claude Code asks you to pick a color theme — use the arrow keys to select one and press
Enter. It then asks how you want to log in: choose Claude account with subscription if you have a Pro or Max plan, or Anthropic Console account if you're paying with API credits, and pressEnter. - A browser window will open automatically. Log in using your Claude account and approve the connection.
Both Claude Code and the Timestripe CLI are now set up and ready for your first prompts.
Codex
Sign up at chatgpt.com. You can start with a free account — the free tier has the lowest usage limits, so heavy use may eventually require a paid plan.
- Open PowerShell (Win + X and select Terminal on Windows 11 or Windows PowerShell on Windows 10) and run the installation script:Copied
Close your current PowerShell window. Open a new Windows PowerShell window to apply the changes.
- Start the agent by running:Copied
When the terminal asks how to sign in, select Sign in with ChatGPT.
- A browser window will open automatically. Log in using your account and approve the connection.
Both Codex and the Timestripe CLI are now set up and ready for your first prompts.
Cursor Agent
Sign up at cursor.com. New accounts include a free trial of premium features, which then converts to a free tier with a limited number of monthly AI requests.
- Open PowerShell (Win + X and select Terminal on Windows 11 or Windows PowerShell on Windows 10) and run the installation script:Copied
Close your current PowerShell window. Open a new Windows PowerShell window to apply the changes.
- Allow local scripts to run. By default, Windows blocks the scripts that Cursor Agent uses to start, so run:Copied
When PowerShell asks you to confirm the change, type
Yand pressEnter. This setting applies to your user account only and does not require administrator rights. - Start the agent by running:Copied
When it asks, press any key to open the login page.
- A browser window will open. Log in with your Cursor account to authorize the CLI.
Both Cursor Agent and the Timestripe CLI are now set up and ready for your first prompts.
OpenCode
OpenCode is completely free and open-source. You can use its built-in free models, or link your own API keys from providers like OpenAI, Anthropic, or Google, paying only for the tokens you actually use.
On Windows, OpenCode installs through Scoop, a lightweight package manager that does not require administrator rights.
- Open PowerShell (Win + X and select Terminal on Windows 11 or Windows PowerShell on Windows 10) and allow local scripts to run:Copied
When PowerShell asks you to confirm the change, type
Yand pressEnter.Close your current PowerShell window. Open a new Windows PowerShell window to apply the changes.
- Run the script to install Scoop:Copied
Close your current PowerShell window. Open a new Windows PowerShell window to apply the changes.
- Install OpenCode by running:Copied
Close your current PowerShell window. Open a new Windows PowerShell window to apply the changes.
- (Optional) Connect your own model provider:Copied
Follow the terminal prompts to select your provider and paste your API key. Note that Ctrl + V often does not work in PowerShell — right-click instead to paste. If you plan to use the built-in free models, you can skip this step.
- Start the agent interface to confirm the setup:Copied
Once the interactive terminal dashboard opens, both OpenCode and the Timestripe CLI are set up and ready for your first prompts.
Connect through the API
You can also use the Timestripe API directly to connect your own tools, scripts, or agents.
Create an API key in Settings → API. Choose which Spaces it can access and whether it can only read your data or also make changes. Keep the key private, like a password.
See the API documentation for connection details.
Try your first prompts
If you connected an assistant, through MCP or the CLI, open it and start with a simple request:
Start with read-only prompts. These let you see how your assistant handles Timestripe data before asking it to change anything:
Then move on to prompts that create something. These need read-and-write access. Ask your assistant to show you the proposed changes before applying them:
The best prompts answer three questions
- Where should the agent look? Specify spaces, boards, buckets, goals, comments, events, folders, memberships, or your profile.
- What should it do? Ask it to list, create, update, complete, move, or delete something.
- Where should the result go? Name a board or horizon, provide a due date, or ask for a summary in the chat or a document.
A generic prompt like “Help me with my tasks” leaves the agent guessing. A much more actionable prompt would be:
Start with a weekly review or a small workspace cleanup. For more ideas, explore our 27 AI use cases, grouped by team.
Stay in control
- You approve the connection. Your assistant can access Timestripe only after you sign in to your Timestripe account and allow it to connect.
- You can start without changing anything. Ask it to show your goals, summarize your week, or suggest what to focus on. These requests don’t change your data in Timestripe.
- You can ask to see changes first. For example: “Show me which goals in Timestripe you’d move, change, or delete, and wait for my approval.”
With the CLI, you can take the access away by running timestripe auth logout. With the API, you can create a key that can only read your data, and you can revoke that key at any time in Settings → API keys.